


Editing page content
1. Find your page.
Click on ‘pages’ in the menu, find your page in the listing (may be on page 2) and click on the page name to enter your page edit view. (And don’t forget to have that public page open in your other browser tab for easy ‘update|reload’ action!)
2. Change your page (a little)
Your page edit view will contain a number of custom fields that have been lovingly crafted to create the public page view. These should be descriptive enough for you to find the content you wish to edit.
Simply find your content, make your changes, click ![]() and then ‘reload’ your live browser tab to see your changes.
and then ‘reload’ your live browser tab to see your changes.
General elements
Each page section may be divided up into various component parts. Again, this should be obvious, and remember that it’s likely to be text that you want to change (a little, not a lot), and that care should be taken when changing out images or making substantive changes to the amount of text.
Here’s an example from the ‘education’ -> ‘how desalination works’ page:

Specific (often dynamic) elements
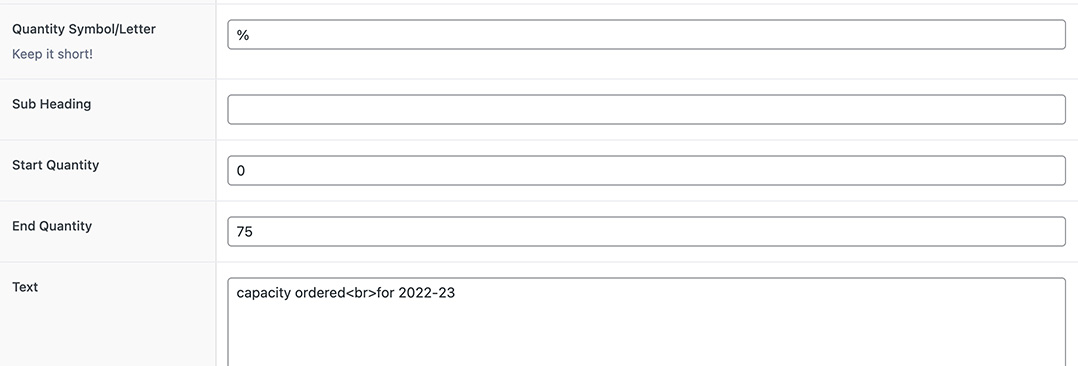
Note that some individual elements are editable to allow you to make simple (at least annual) changes to dynamic site elements, such as the statistics in the home page dashboard view:
3. Change your page (a lot)
While a CMS allows you to make significant changes, much care has gone into each page layout, so bear that in mind should you wish to make some changes, such as changing out an image for another which may be of different dimensions or not optimised for web display, just to name a couple of the likely pitfalls!
Similarly, removing or adding entirely new content sections is deliberately beyond the tools provided to you. This kind of thing should be done in conjunction with the folks at Primary Create.
4. Change your mind?
Never fear, we have cunning tools available to fix pretty much anything you may wittingly or unwittingly do while you’re working away in your new role as ‘webmaster lite’. Please contact Primary Create and we’ll jump onto restoring things for you as soon as humanly possible!
Adding and editing news items
1. Adding a news item
Hover over ‘posts’ and select ‘add new’ from the little pop out menu that appears.
On the ‘add new post’ view, please enter your post headline into both the top and secondary ‘title’ fields, add a brief (!) teaser, add your content (including the release date), and then add your image. Finally, don’t forget to click ![]() and ‘reload’ your live news page to view both your teaser and news item.
and ‘reload’ your live news page to view both your teaser and news item.
Instructions for image sizing are provided, but please see Primary Create for any assistance required.
2. Editing news items
Click on ‘posts’, then find and click on the news item you want to edit from the list of news items (sound familiar?).
Once you’re done with your careful edits, remember to click ![]() and then ‘reload’ your live view tab.
and then ‘reload’ your live view tab.

Managing calls to action
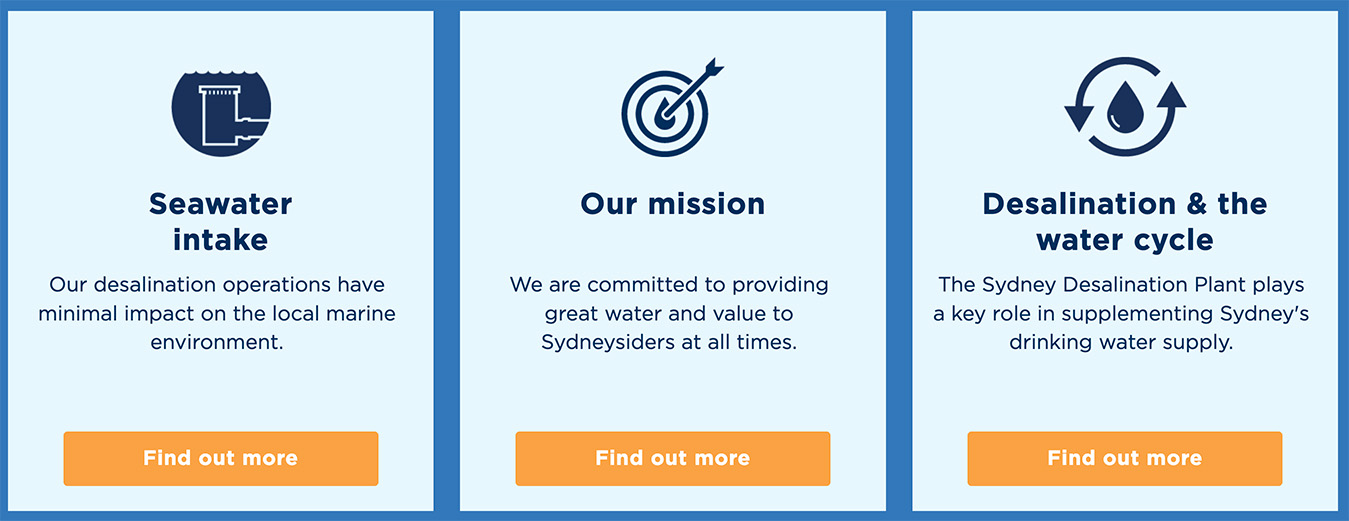
‘Calls to action’ (CTAs) in our context refer to the tiles that are used to encourage users to jump across to other relevant or complementary pages. These appear below the content on many site pages, just before our FAQs:
1. Editing a Call to Action tile
Click on “Calls to Action‘ to view all CTAs, find your CTA of interest, then click its title to edit.
i) You can easily update ‘heading’, ‘introductory text’, and ‘button text’ (not too long please!) content for the CTA and click ![]() and reload a live page containing that CTA to view your work.
and reload a live page containing that CTA to view your work.
ii) Icons: these should ideally be produced by Primary Create, but instructions are given for sizing should you be feeling courageous. If you want to change an icon, hover over it, and remove it by clicking the “X” that appears and then click ![]() . You can then drag and drop or search for your new icon file and add it via the media library. (Don’t forget to click
. You can then drag and drop or search for your new icon file and add it via the media library. (Don’t forget to click ![]() and ‘reload’ the containing live page to see your changes).
and ‘reload’ the containing live page to see your changes).
iii) CTA page targets: To change the page link for a CTA, simply find that page from the ‘Button URL’ dropdown (and do the whole update/reload thing of course!).
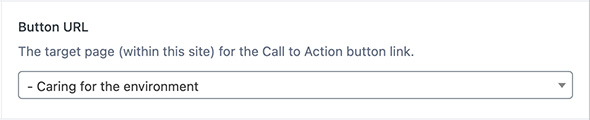
Please seek assistance from Primary Create if you wish to target a specific part of a page with your CTA button link.
2. To add a CTA
Hover over ‘Calls to Action’ and select ‘Add Call to Action’ from the sub-menu and, voila!, you’ll be presented with the ability to add a new CTA.
Please follow the instructions above to add your new CTA content but this time you will click ![]() to create your new shiny CTA!
to create your new shiny CTA!
3. Selecting CTAs for each page
Follow the instructions in ‘Editing page content’ to access the relevant page’s edit view and scroll down to ‘Call to action blocks’:

To remove CTAs from this page, click the “X’ within each CTA shown (above).
To add a new CTA to this page, click within the CTA row shown and then select the CTA from the dropdown of all site CTAs:
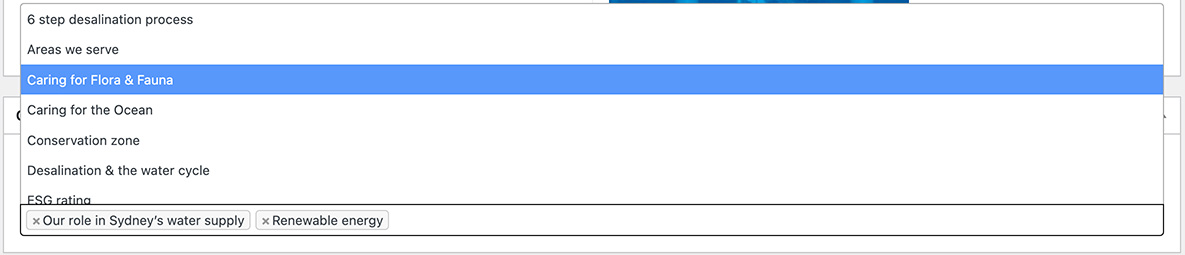
To reduce the number of CTAs shown, you can click in the CTA row and start typing from the start of the title of the desired CTA:

As ever, don’t forget to ![]() this page and ‘reload’ to see your work!
this page and ‘reload’ to see your work!
Please note that all pages must have 3 CTAs.
Editing and adding FAQs
Managing the website’s FAQs is easy (like Sunday morning)!
1. To edit an FAQ
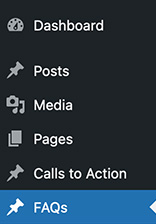
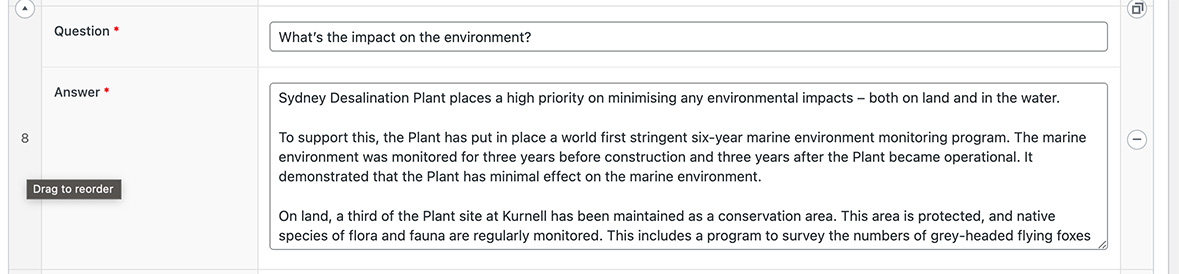
Click on FAQs then click on the rather oddly named ‘Auto Draft’ to see all the FAQs in rows of questions and answers. Simply edit your question or your answer and click ![]() to save your work. Then just ‘reload’ a page containing the FAQs section to see your changes.
to save your work. Then just ‘reload’ a page containing the FAQs section to see your changes.
2. To add an FAQ
While viewing the listing of all current FAQs, scroll to the bottom of the FAQs listing, then click ![]() .
.
Add your new question and answer, then click ![]() to save your work before then ‘reloading’ a page containing the FAQs to see your clever work!
to save your work before then ‘reloading’ a page containing the FAQs to see your clever work!
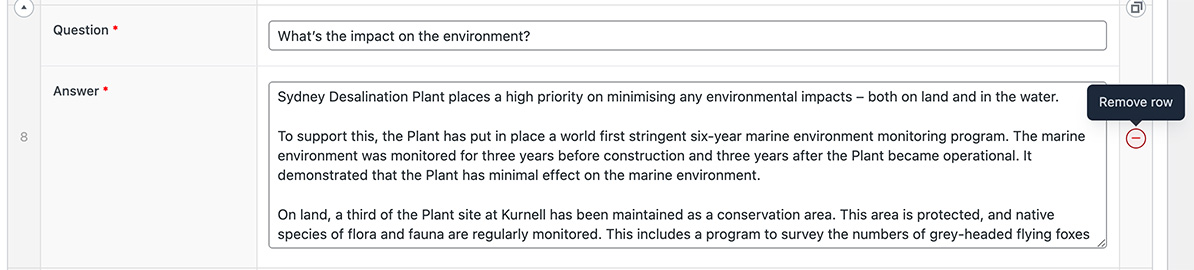
3. To remove an FAQ
While viewing your FAQs listing, hover over the right-most column of the relevant FAQ row and a small (-) icon will appear. Click on this, confirm by clicking ‘remove’ and then click ![]() to save your work before ‘reloading’ your live view.
to save your work before ‘reloading’ your live view.
4. To reorder FAQs
While viewing all FAQs, hover over the left-most column of the FAQ row you wish to move. Your cursor will change shape and you will be prompted to ‘drag to reorder’. If that sounds like a good idea, then ‘drag to reorder’, repeat until you’ve reordered all to your liking, then click ![]() and reload your live view.
and reload your live view.
Managing Our Team
1. To edit a team member’s details
Click on Pages then find and click ‘Our team’ to see two main content management sections: One for the management team, and one for directors. This content is organised in rows. Simply edit the team member’s title or bio and click ![]() to save your work. Then just ‘reload’ the page to see your changes.
to save your work. Then just ‘reload’ the page to see your changes.
2. To add a team member
While viewing the listing of all current team members (executive or directors), scroll to the bottom of the listing, then click ![]() .
.
Add your new team member, then click ![]() to save your work before then ‘reloading’ the page to check your work!
to save your work before then ‘reloading’ the page to check your work!
3. To remove a team member
While viewing your relevant team member listing, hover over the right-most column of the relevant row and a small (-) icon will appear. Click on this, confirm by clicking ‘remove’ and then click ![]() to save your work before ‘reloading’ your live view.
to save your work before ‘reloading’ your live view.

4. To reorder team members
While viewing all team members, hover over the left-most column of the team member row you wish to move. Your cursor will change shape and you will be prompted to ‘drag to reorder’. If that sounds like a good idea, then ‘drag to reorder’, repeat until you’ve reordered all to your liking, then click ![]() and reload your live view.
and reload your live view.

Managing website enquiries
While website enquiries, via the two forms provided, are automatically emailed to you, it is also possible to access these enquiries under ‘forms’.
Hover over ‘Forms’ in the menu then click ‘entries’ in the sub-menu that appears. This will allow you to view all enquiries to date. If required, select the required form from the dropdown at the top of the entries page. Again, to manage an individual enquiry and view its history, click on the enquiry of interest to view.
Resending an enquiry notification
Note that, because sometimes emails just don’t make it to whence we want, it is possible to resend either the enquirer’s (courtesy copy) or SDP’s notification via the little box on the right of each enquiry’s detailed view:

Adding and editing Jobs
1. To add a Job
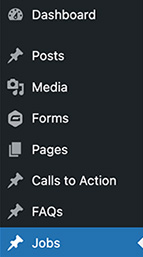
Hover over Jobs in the side menu, then click ‘Add Job’ from the sub-menu that appears. Alternatively, you can use the ‘Add Job’ button at the top of the main Jobs page.
Add your new job by filling in all the required information, then click ![]() to save your work before then ‘reloading’ the Careers page to see your clever work!
to save your work before then ‘reloading’ the Careers page to see your clever work!
Remember to add a ‘job precis’ as this is used on the Careers page to introduce each position available.
2. To edit a Job
Click on Jobs then click on the required job. Simply edit your job details and click ![]() to save your work. Then just ‘reload’ the Careers page and then click on your required job to see your changes.
to save your work. Then just ‘reload’ the Careers page and then click on your required job to see your changes.
3. To remove a Job
While viewing your Jobs listing, hover the relevant job row and then click ‘trash’ from the sub-menu that appears. This will move your job to the Trash (from which you can restore it if you need to by clicking trash at the top of the jobs listing and then clicking restore from the hover sub-menu for the job in question).
Managing Job/EOI Applications
While job applications or EOIs, via the two forms provided, are automatically emailed to you, it is also possible to access these applications or EOIs under ‘forms’.
Hover over ‘Forms’ in the menu then click ‘entries’ in the sub-menu that appears. This will allow you to view all applications to date. If required, select the required form from the dropdown at the top of the entries page. Again, to manage an individual application and view its history, click on the application of interest to view.
Resending a job application notification
Note that, because sometimes emails just don’t make it to whence we want, it is possible to resend either the applicant’s (courtesy copy) or SDP’s notification via the little box on the right of each application’s detailed view:
Adding and editing Blog Posts
1. Adding a blog post
Hover over ‘blog’ and select ‘Add Blog Post’ from the little pop out menu that appears.
On the ‘add blog post’ view, please enter your post title into the top field, then add your ‘main post image’, add a brief (!) post introduction/precis, then add your content.
Note that you can add a link to an internal (SDP website) page by adding a link to that page (Call To Action URL) and link text (Call To Action Text).
Finally, don’t forget to click ![]() and ‘reload’ your live blog page to view both your new post on The Sydney Desal Blog page and also the individual blog post.
and ‘reload’ your live blog page to view both your new post on The Sydney Desal Blog page and also the individual blog post.
Instructions for image sizing are provided, but please see Primary Create for any assistance required.
2. The Main Post Image
This image should be pre-edited to be a jpeg (.jpg or .jpeg extension) file which is landscape in proportion: Ideally 1.5 : 1 (w : h). The ideal size is 1,180 by 787 pixels at 72dpi. Any smaller than this might result in resolution issues on desktop displays.
3. Additional images
At the very bottom of the ‘add blog post’ page you’ll find a title: “Additional Images”. These are images that will be automagically placed in a mosaic image gallery at the bottom of the blog post. Use the ‘Add Image’ button to add your first and subsequent images. Instructions for image sizing are provided but a variety of aspects and sizes (within reason on size please!) can be used to create a great tiled gallery effect.
Such a gallery can be a great way of adding to posts regarding events with lots of attendees such as fundraising or award events.
4. Editing blog post items
Click on ‘blog’, then find and click on the blog post you want to edit from the list of blog posts. Remember to click ![]() to save your work.
to save your work.